Struggling with sewer backups or difficult pipe access? A clean-out installation offers a simple solution, providing direct entry to your sewer system for cleaning and repairs without invasive digging. This expert guide walks you through the installation process, ideal locations, materials, and maintenance tips to keep your plumbing system efficient. By investing a few hours, you can prevent major blockages and ensure long-term reliability. Dive into the details to master clean-out installation!
Why Clean-Outs Matter
A clean-out is a vital component in modern plumbing, enabling easy access to sewer pipes for maintenance. Without it, blockages can cause backups, leading to messy and hazardous conditions in your home.
What Is a Clean-Out and Its Role?
A clean-out is a vertical pipe with a removable cap, typically PVC, connected to the main sewer line. It allows tools like snakes or cameras to enter for clearing blockages or inspections. Per IPC standards, clean-outs should be installed every 75–100 feet to ensure full system access. Without clean-outs, plumbers may resort to destructive methods like cutting walls, complicating repairs.
Clean-Out vs. Other Plumbing Components
Unlike vents (for gas release) or traps (for odor prevention), clean-outs are designed for maintenance access, allowing direct entry for tools.
Clean-Outs in Septic vs. Municipal Systems
Septic systems require bidirectional clean-outs near the tank for inlet/outlet access, while municipal systems typically need unidirectional clean-outs near the property line’s main connection.
Benefits of Clean-Out Installation
Clean-outs are a proactive investment for plumbing efficiency.
Preventing Sewer Blockages
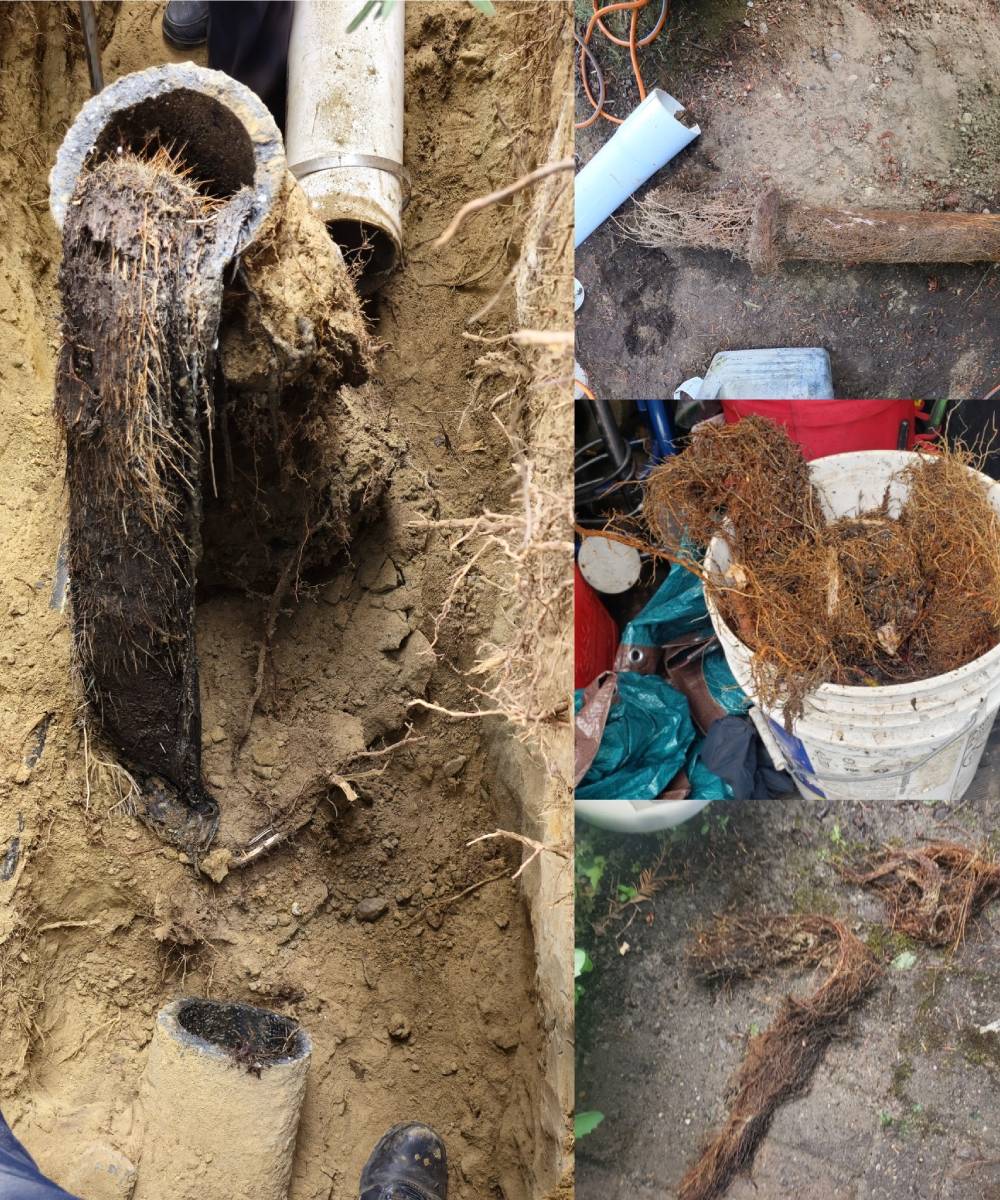
Clean-outs enable quick removal of debris like grease or roots, reducing the risk of backups.
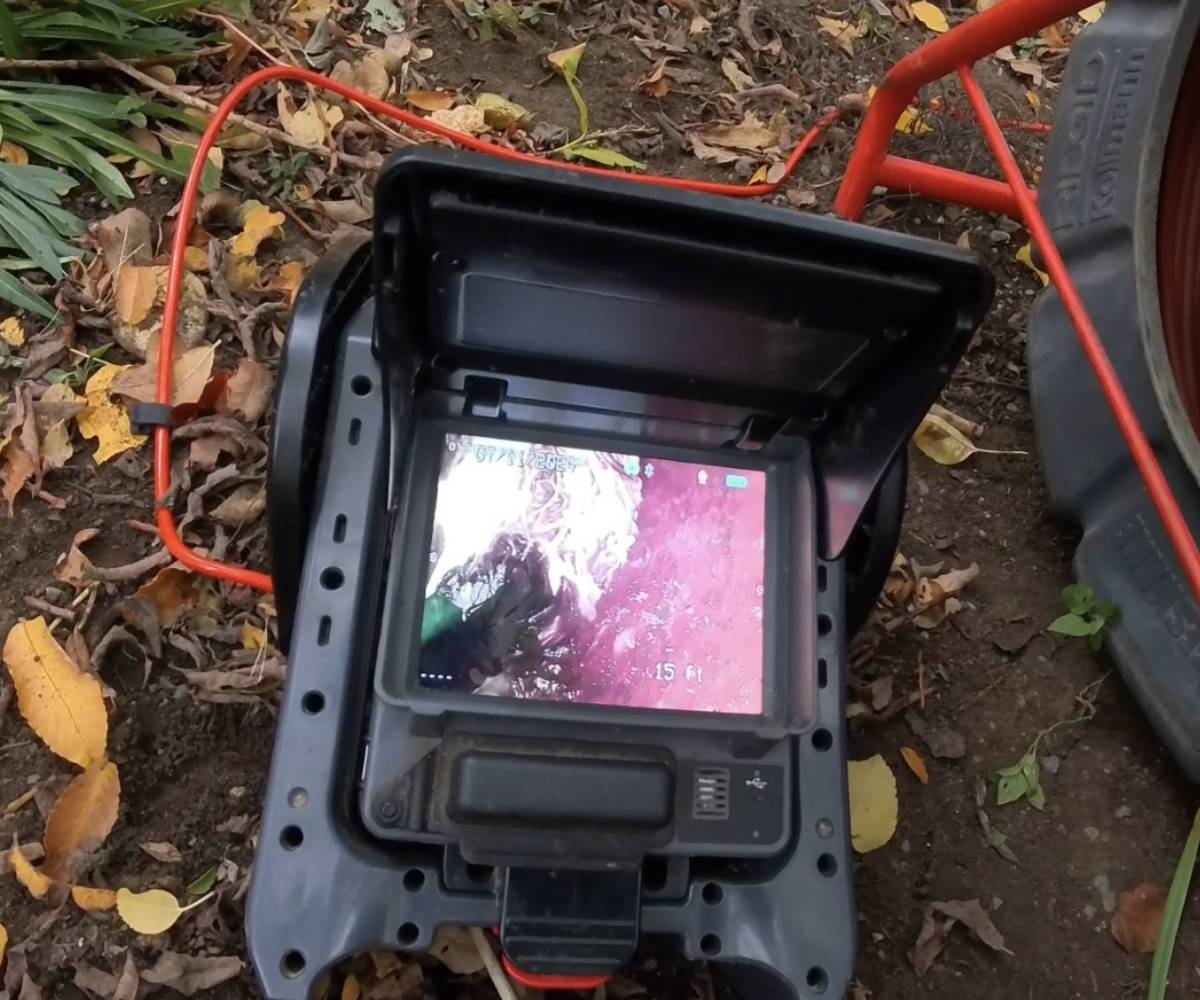
Simplifying Inspection and Cleaning
They allow cameras to detect issues like cracks early, extending pipe lifespan significantly.
Ideal Installation Locations
Choosing the right spot is critical for clean-out effectiveness. IPC codes mandate clean-outs at pipe bends over 45 degrees and at the building drain-to-sewer connection.
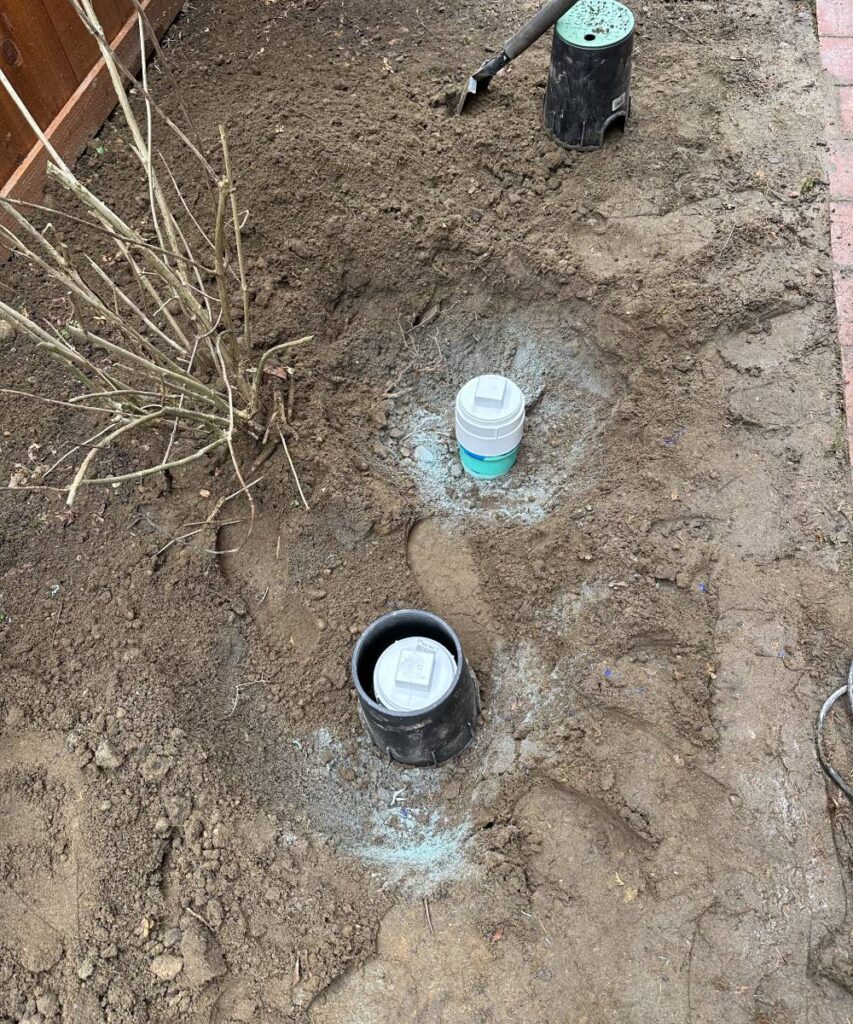
Where to Install Clean-Outs?
Locations should balance accessibility and minimal disruption to landscaping.
Indoor Clean-Outs
Place in basements or garages near the main stack, ideal for cold climates to prevent freezing.
Outdoor Clean-Outs
Install near the foundation or property line, or close to the septic tank for septic systems.
Clean-Outs at Pipe Bends
Install at direction changes over 45 degrees to prevent debris buildup.
Materials and Tools
High-quality materials ensure durability and leak-free performance.
Selecting Materials for Clean-Outs
PVC is common for residential use, while metal suits heavier applications.
PVC vs. Metal: Comparison Table
| Feature | PVC Cleanout | Metal (Cast Iron) Cleanout |
|---|---|---|
| Durability | Corrosion-resistant, good for homes | Impact-resistant, ideal for commercial |
| Installation | Easy with PVC cement | Complex, requires welding |
| Maintenance | Low, UV-sensitive outdoors | Moderate, resists root intrusion |
| Application | Domestic septic/municipal | Large main lines |
Fittings and Sizes (Tee, Wye, Cap)
Use 3–4-inch pipes with Wye fittings for bidirectional access. Threaded caps ensure easy removal.
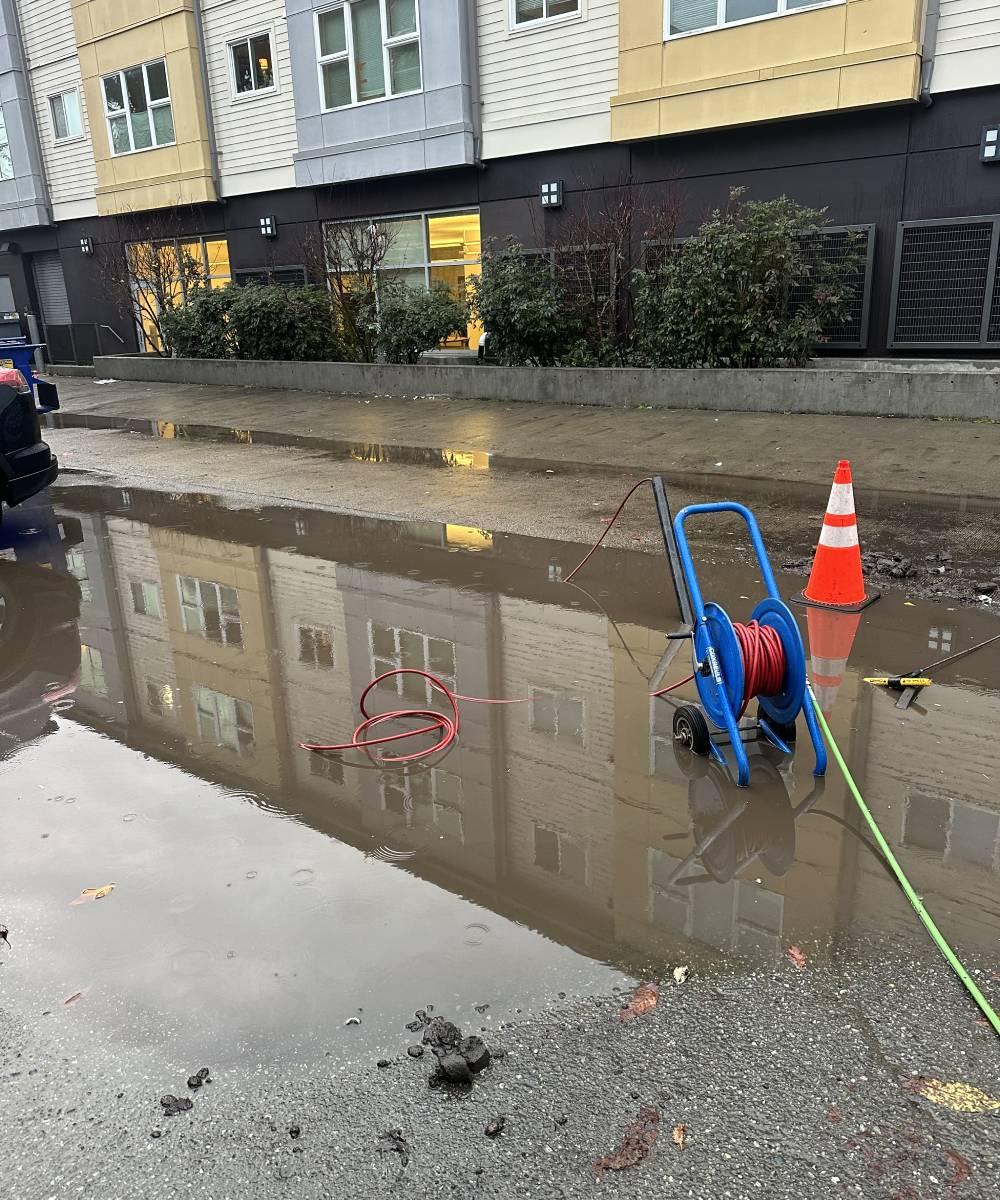
Installation Process
DIY installation is feasible, but professionals ensure code compliance.
Step-by-Step Clean-Out Installation
Tools: pipe saw, PVC cement, shovel, level.
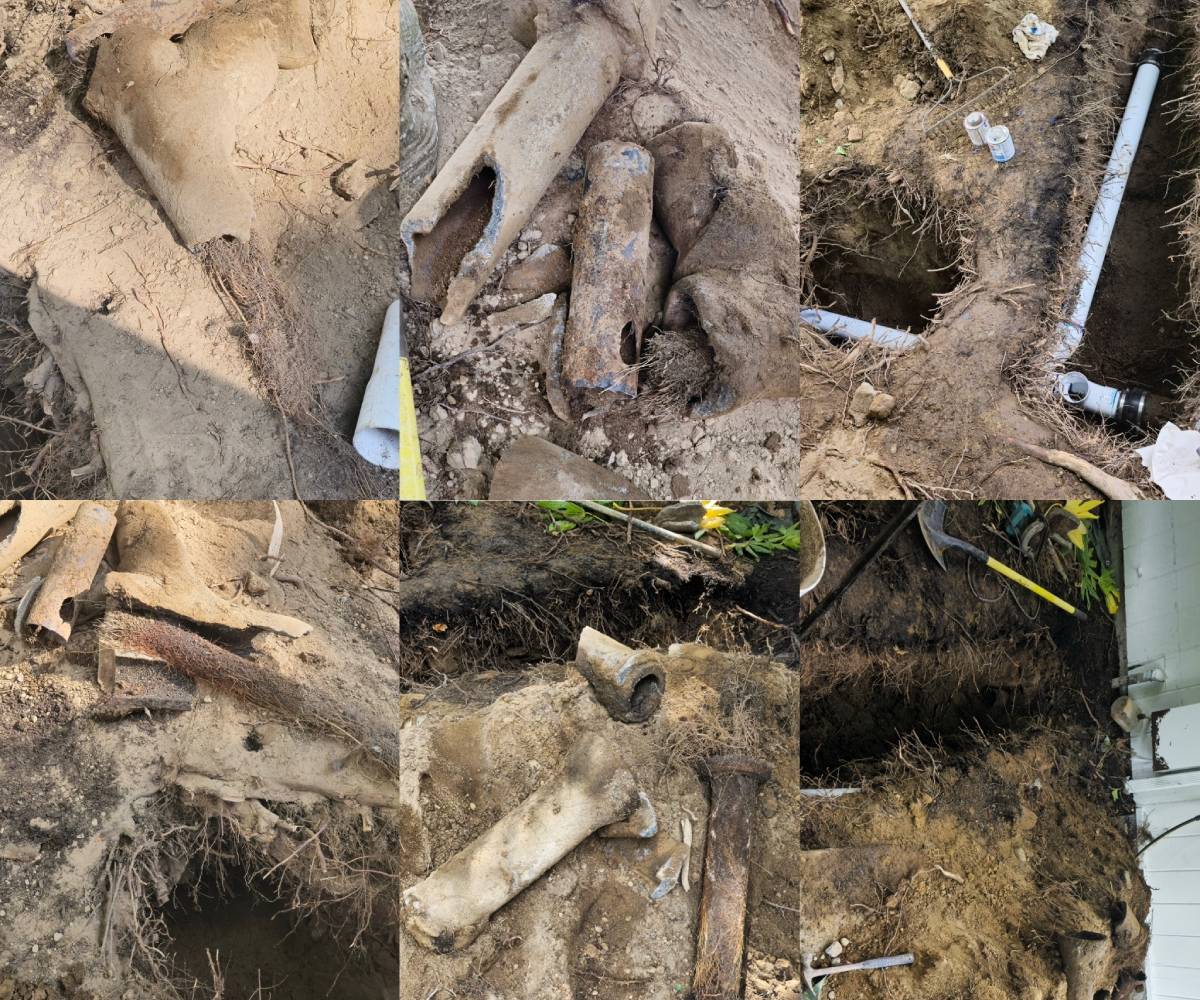
Preparation and Excavation
Locate the pipe using an electronic locator. Dig a 12–18-inch pit carefully to avoid pipe damage.
Cutting and Connecting Pipes
Cut the pipe and attach a Wye or Tee with PVC cement. Use a Fernco coupling for older pipes.
Installing and Sealing the Cap
Apply pipe dope, screw the cap clockwise, and tighten with a wrench. Use PTFE tape for sealing.
Testing and Backfilling
Pour water to check for leaks, then backfill with sand.
Common Installation Mistakes
Avoid errors that cause leaks or access issues.
Ignoring Building Codes
Exceeding 100 feet without a clean-out violates codes. Check plumbing code standards.
Incorrect Cap Installation
Failing to rough up PVC or use dope can cause leaks. Always prepare surfaces properly.
Maintenance and Safety
Annual checks keep clean-outs functional.
Maintaining Your Clean-Out
Keep caps clear of debris and prevent grass overgrowth.
Regular Inspection and Cleaning
Every 6 months, open the cap and snake the line.
Safety Tips for Cap Removal
Wear gloves; if water pressure is present, close the cap immediately to prevent backups.
Conclusion: Secure Your Sewer with KnightRooter
A clean-out installation transforms sewer maintenance, preventing blockages and simplifying repairs. Follow this guide to install one yourself or hire experts. For professional Clean-Out installation and plumbing services, KnightRooter’s skilled team delivers fast, reliable solutions. Contact KnightRooter today to ensure your sewer system stays trouble-free!
Explore More Resources
For more information on sewer line maintenance and repair, visit our service pages:
- Sewer drain cleaning Everett
- Sewer drain cleaning Edmonds
- Sewer drain cleaning Seattle
- Sewer drain cleaning Bothell
- Sewer drain cleaning Kirkland
- Sewer drain cleaning Lynnwood
- Sewer drain cleaning Woodinville
- Sewer drain cleaning Snohomish
- Sewer drain cleaning Bellevue
AFQ
Where to install cleanouts?
Near foundations, pipe bends, or sewer/septic connections, at least every 100 feet.
What is a cleanout?
A capped access point for sewer pipe maintenance.
How to install a cleanout cap?
Rough up PVC, apply dope, screw clockwise, and tighten with a wrench.
Do you need to rough up PVC before gluing?
Yes, to ensure strong adhesion and prevent leaks.
What do septic cleanouts look like?
Similar to sewer cleanouts, often bidirectional, near the tank with PVC or metal caps.
For professional and fast drain cleaning Bothell, drain cleaning Seattle, and drain cleaning Bellevue, contact KnightRooter. Our team is ready to provide the best solutions for your drain issues.
No comment yet, add your voice below!